Now it's time to finally add the finishing touches, and I'm finally done!
Question: Did you do anything else to the triangular pieces?

Kelly: In order to secure the triangular pieces even more, I wanted to weld the inside corner of the pieces that would be seen on the bottom of the triangular piece. This way, The triangular piece would be secure from two dimensions.
Question: How did you secure the other dimension of the triangular piece?


Kelly: I did this by securing it with TIG Welding. However, this time I tried to do with a different type of filler metal, in this case, brass. Since it has a lower boiling point, it will prevent the steel foot ring rest pieces from creating a hole because the pieces are so thin. Unfortunately, The brass would never fill in. And the metals would not connect.
Question: Oh that's terrible. So did you just leave it alone?

Question: After you welded the pieces, what did you have to do next?

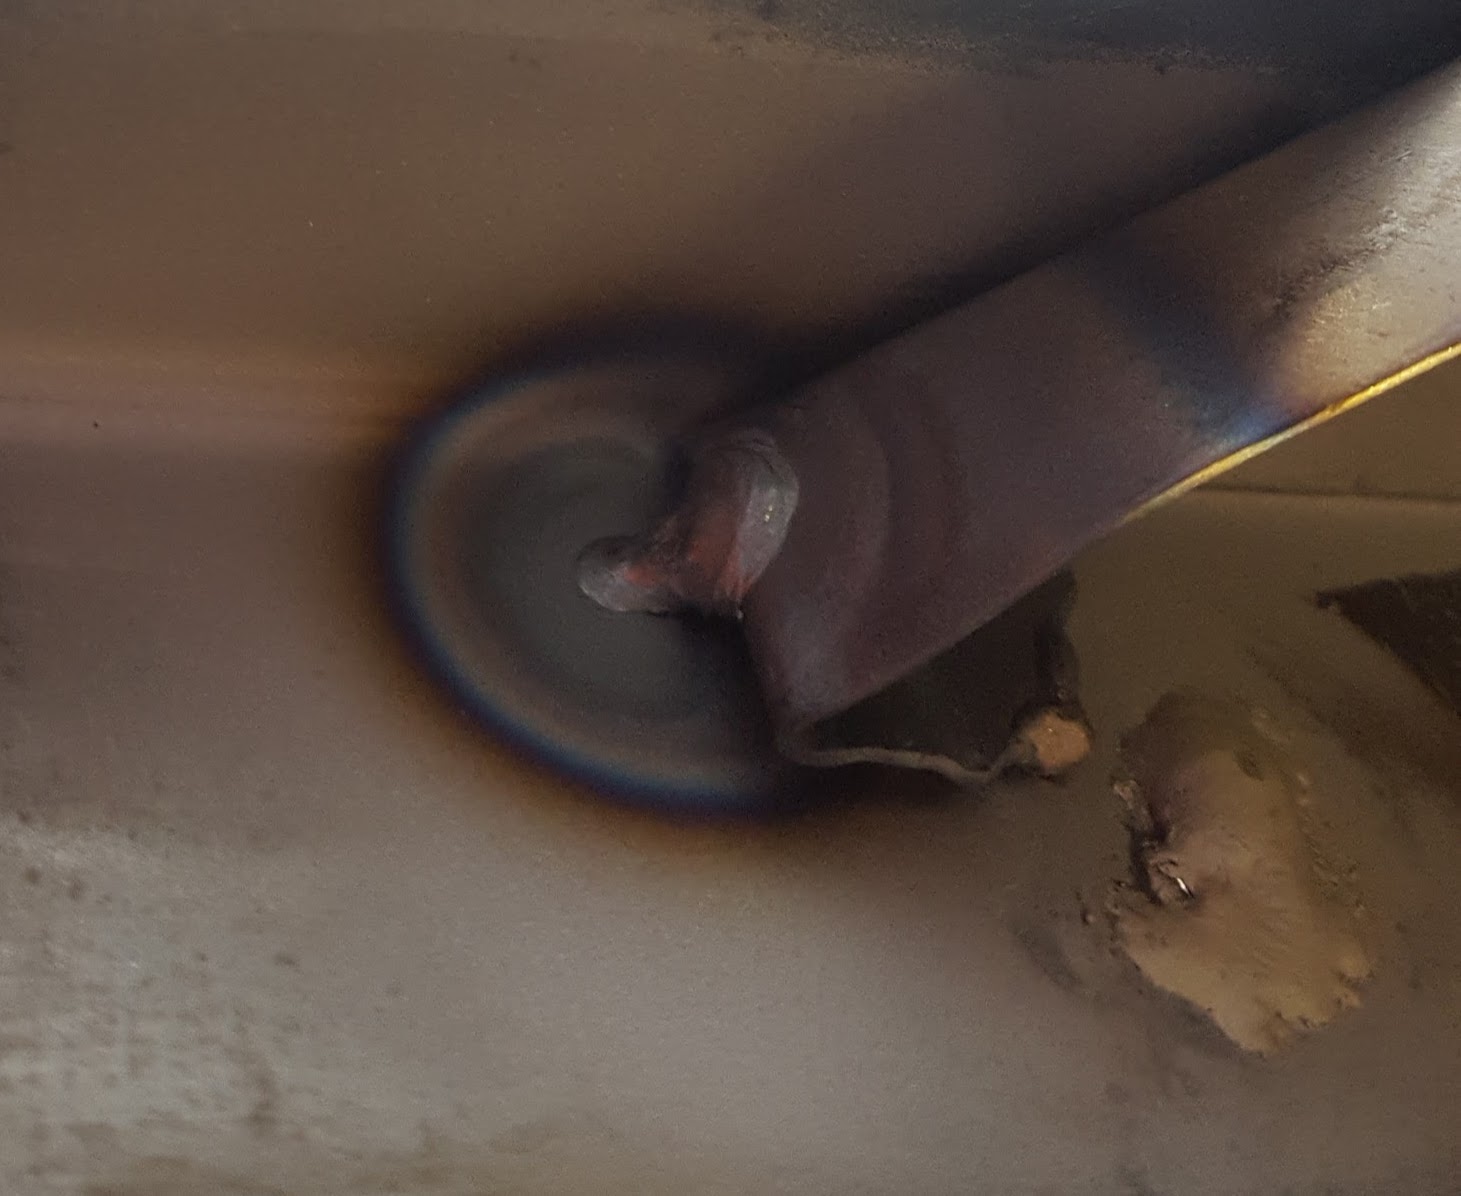
Kelly: The next thing I had to work on was the seat of the stool itself. The original seat was in good condition except that I had to get rid of the stumps that were already on the bottom of the seat from the previous welds when it was originally made.
Question: Oh wow so how did you get rid of the stumps? Did you use a filer or a cutting saw?


Kelly: No I actually used the angle grinder. This because it would be a faster process and it would leave a cleaner finish. I grinned off the stumps as the seat was placed in a vice. I made that the seat was tightly in place and would not move in any way as I used the angle grinder on it.
Question: That's makes sense. Then did you just TIG Weld the seat to the legs of the stool?


Kelly: Not really. I actually had U Bracket shapes that will connect the legs onto the bottom part of the seat. I had these pieces from last year. It was finally time to put them into use.
Question: That seems really cool. How did you connect the pieces?


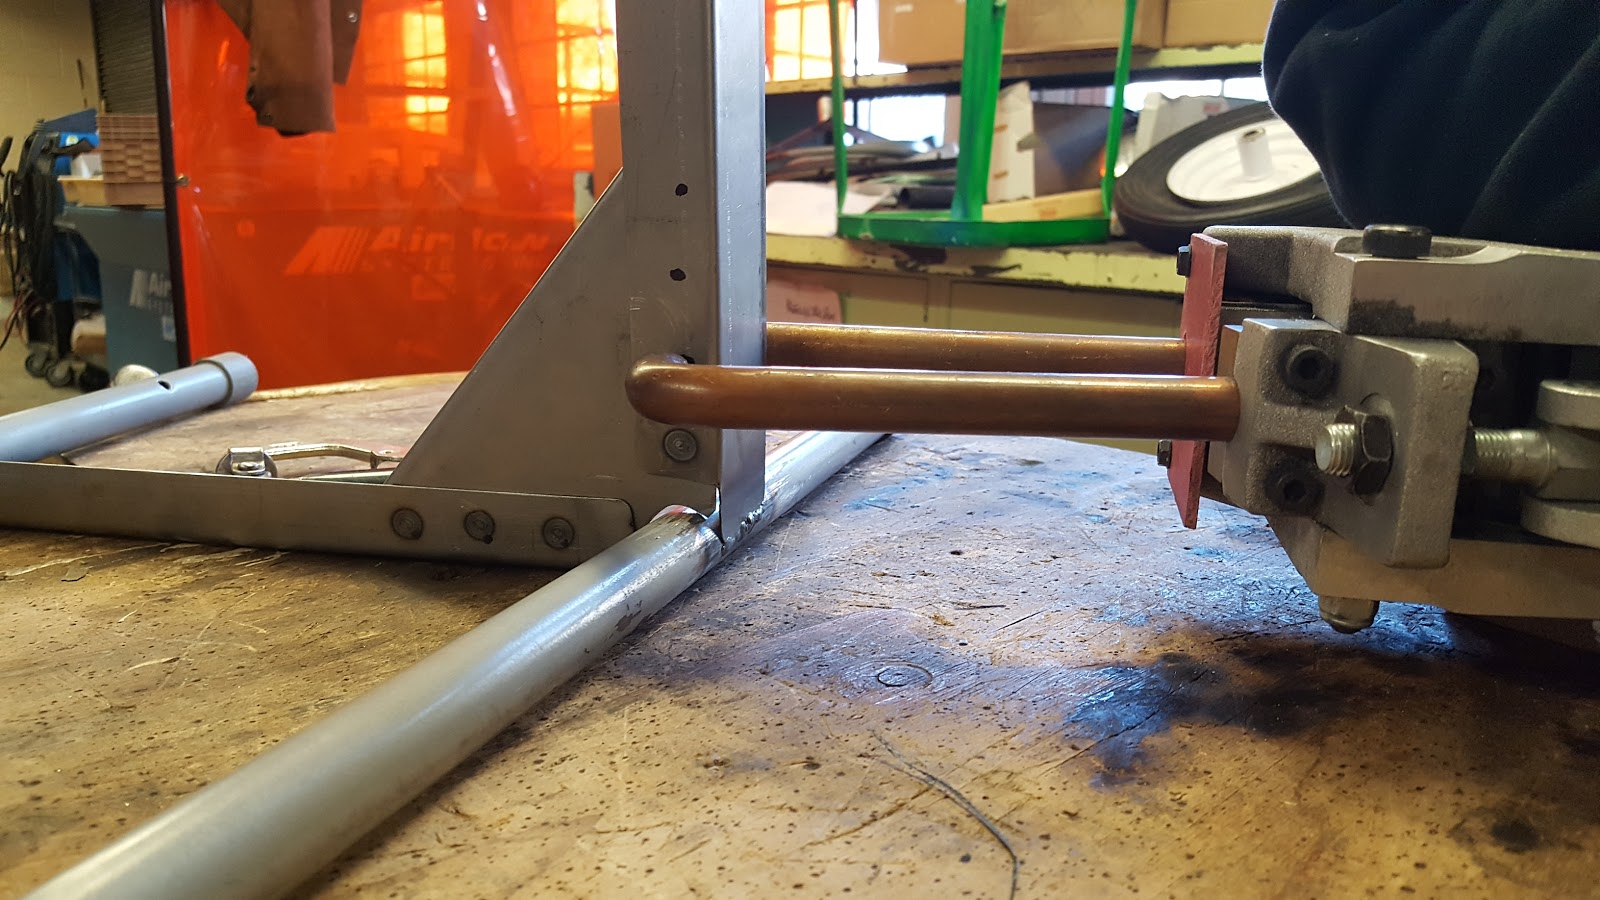
Kelly: I thought it would be cleaner, quicker, and less harmful to the seat if they were Spot Welded together. But I also had to cut the lengths of the legs of the pieces since they overlapped. So I used the Shear/Brake/Roll machine. I aligned the pieces to the blade of the shear for the legs to be one inch in length.
Question: How many tacks did you put on the U Brackets?

Kelly: I made 5 tacks on both sides of the brackets. I made a box shape with 4 tacks and then did the last tack on the center. These tacks would secure the corners points especially near the end of the U shape which is where the pressure is mostly needed to secure the seat and the legs.
Question: Does that mean that you're done fixing the stool?


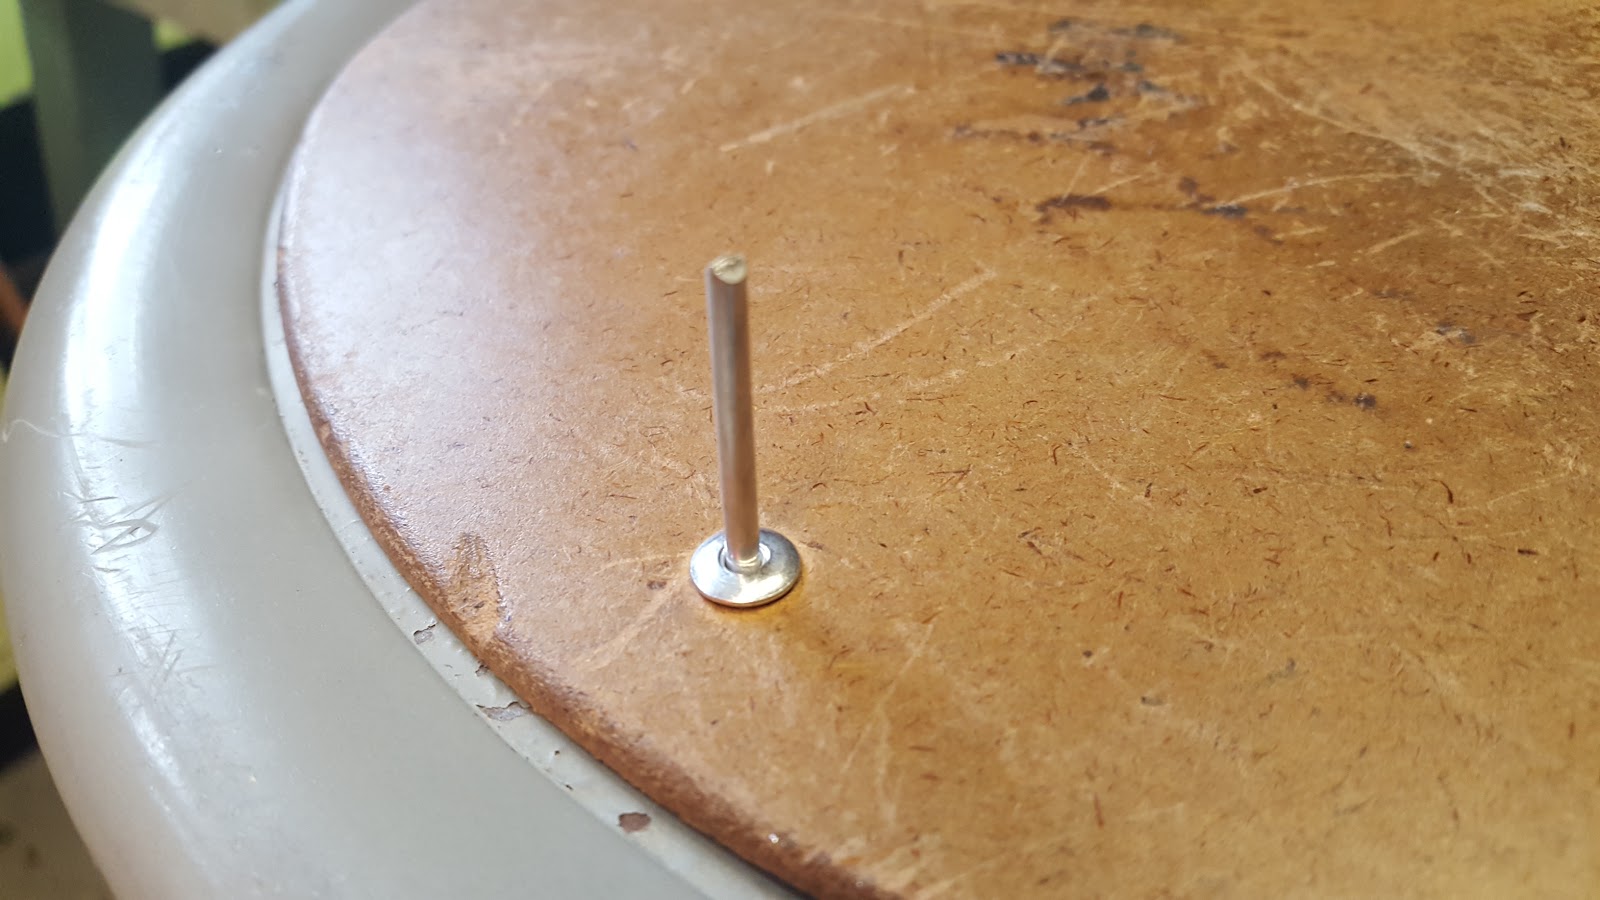
Kelly: Not just yet. When I first started working on the stool, there was a cork like seating pad on the top part of the seat. Sadly, the seating pad that was removed was misplaced. But I found another exact stool seat that I could take the seating pad off of it and put it on my stool.
Question: Wasn't cork like seating pad riveted onto the seat? How did you take it out?


Kelly: I actually used my trustee angle grinder again and kept on grinding until the rivet piece was broken off. I knew when to stop grinding when I heard a pop which meant that the seating pad was released from the seat itself. I made sure there was no pieces of metal scraps in the hole of the seating pad.
Question: When you had to rivet, were there any problems with the seating pad? Did it fit the way you expected it to?


Question: How does it feel that you finally finished fixing this stool that you've been working on for a year?


Kelly: It feels very relieving if I'm honest. But I enjoyed working on it no matter how many times I got frustrated whenever things didn't turn out the way I planned. But I had to learn new ways to fix the problems. It was even harder this year because I worked on the chair alone. Last year I learned about teamwork and listening to other people's ideas. This year, I had an opportunity to challenge myself even more and improve my machine and tool handling skills. It's sad to say that I don't have to work on this stool anymore. But I'm happy that I got to finally finish with what I started!
No comments:
Post a Comment
Note: Only a member of this blog may post a comment.